Windy inverter units in Jamaica: what to know before you install
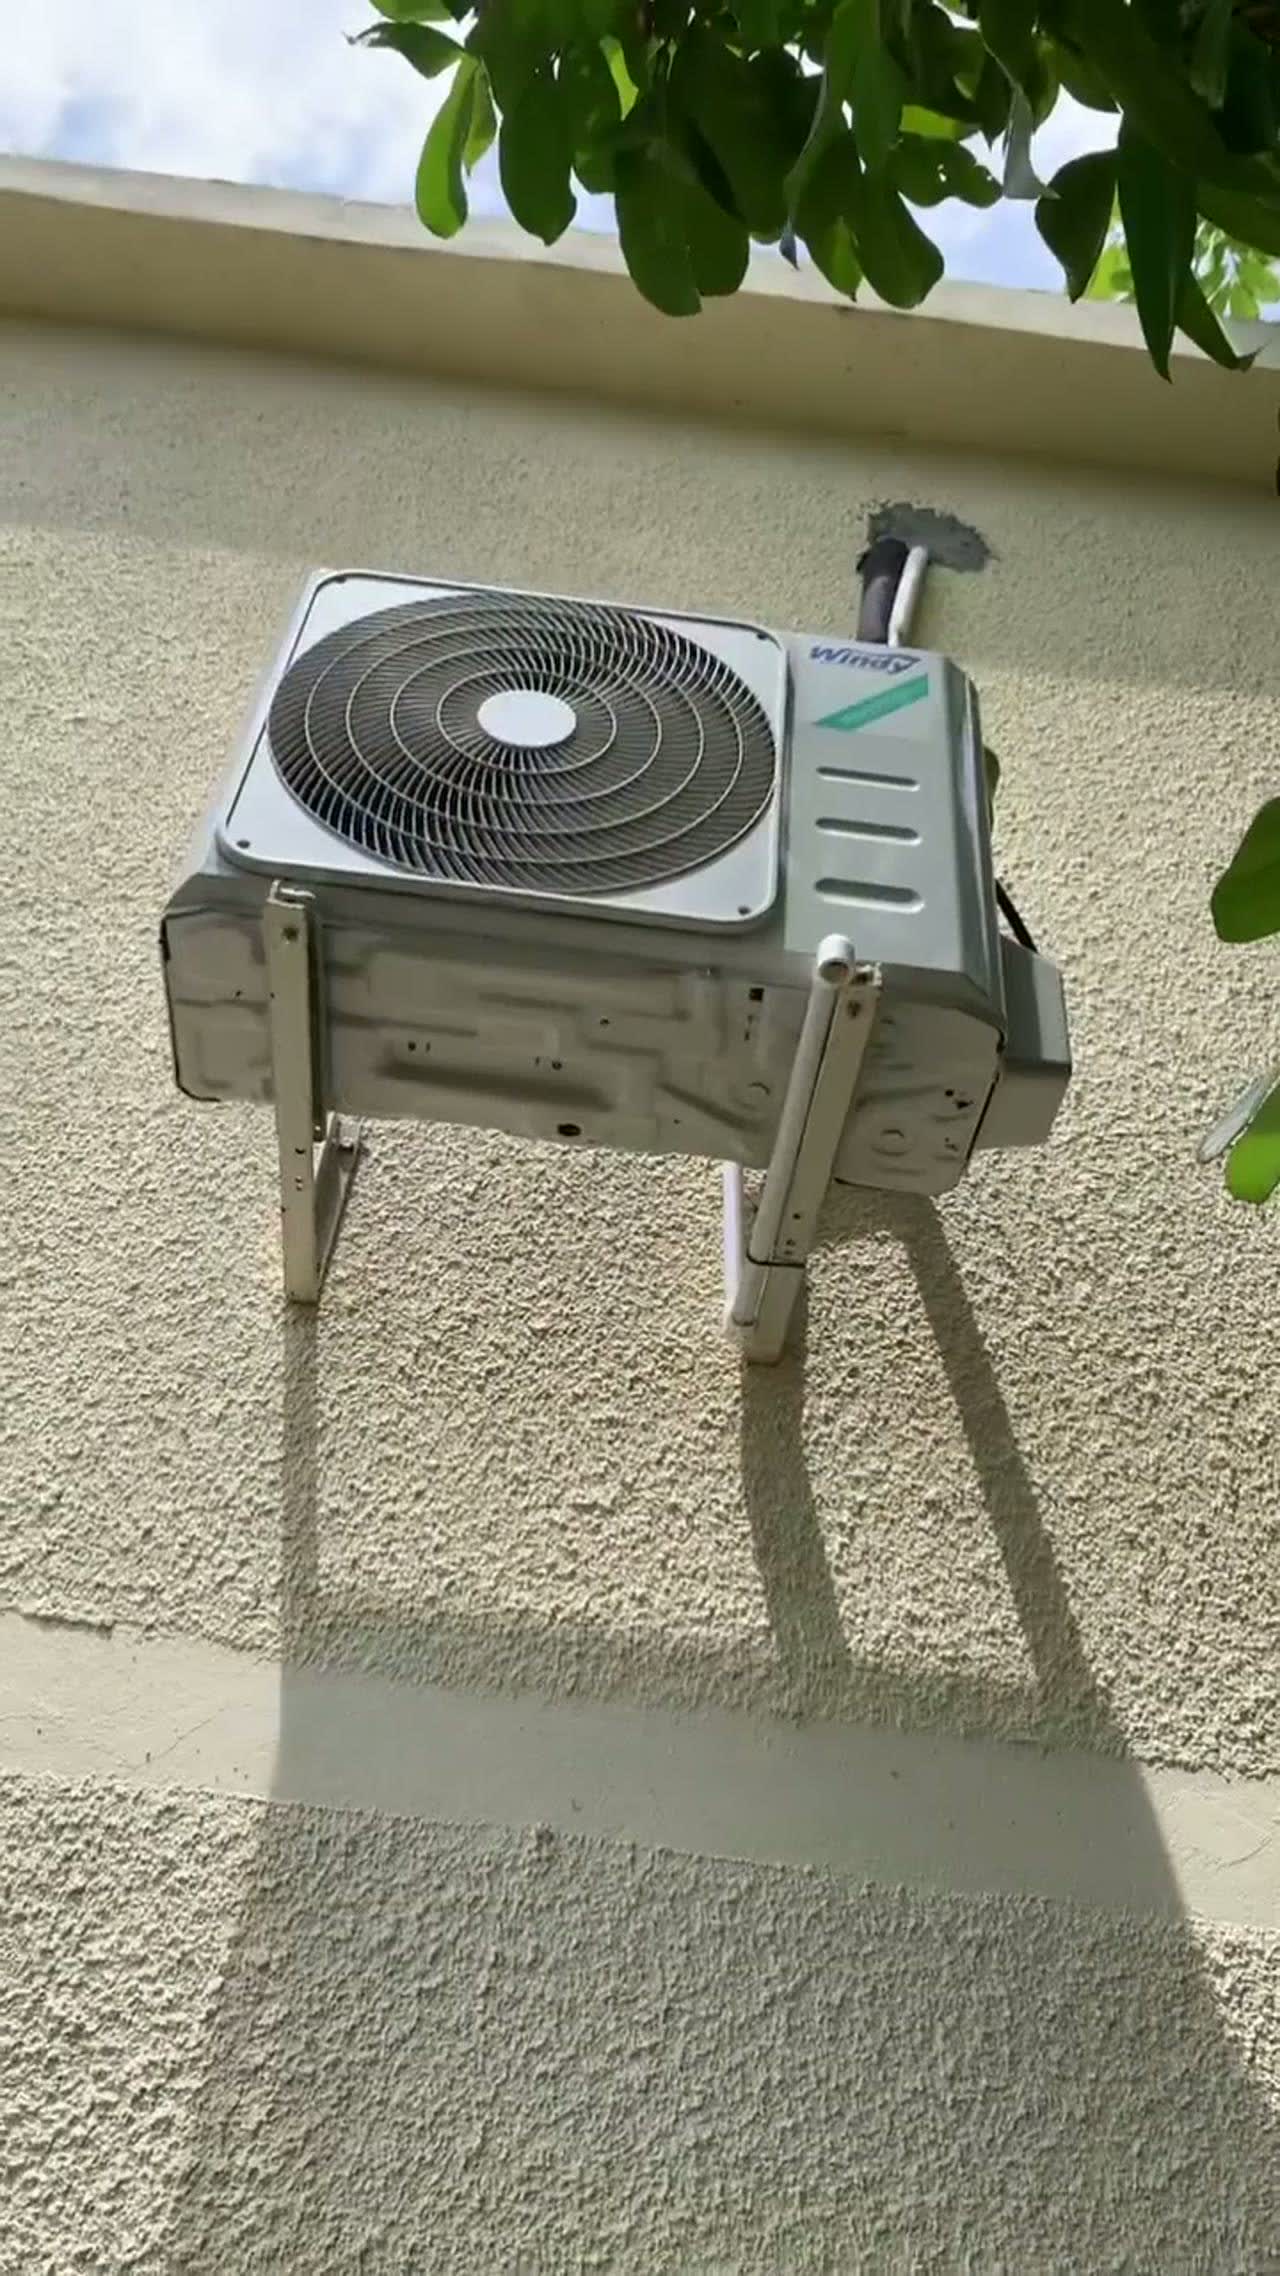
If you follow @krispykoolac, you will see Windy inverter wall units on brackets, outdoor condensers piped along painted walls, and commissioning checks before the customer gets the remote. This guide explains what that hardware is doing in a Jamaican home, what to decide before mount day, and how to keep the unit performing after the crew leaves.
Windy is not a poster brand on this site. It is hardware we unbox, hang, vacuum, and hand over. The photos in the gallery are those jobs. If you want the same finish, the decisions below are the ones that make a neat install instead of a noisy one.
Why inverter units matter here
Traditional fixed-speed compressors switch fully on until the room hits temperature, then switch off. Inverter compressors adjust speed to match the cooling load. That usually means fewer hard starts, smoother comfort, and lower average power draw compared with older non-inverter units running the same hours.
In Jamaica, where JPS electricity cost is a regular conversation at the kitchen table, inverter technology is often the reason customers ask for Windy or TCL when they message for a quote. It is not magic: a poorly sized or dirty unit will still run too long. It is a better baseline when the install and servicing are done right.
- Steadier room temperature with less on/off cycling.
- Often quieter indoor operation at partial load.
- Pairs well with good insulation, shade, and clean coils.
Read the honest bill conversation in JPS bills and inverter AC before you buy on the promise of a half-price light bill.
What Windy installs look like on site
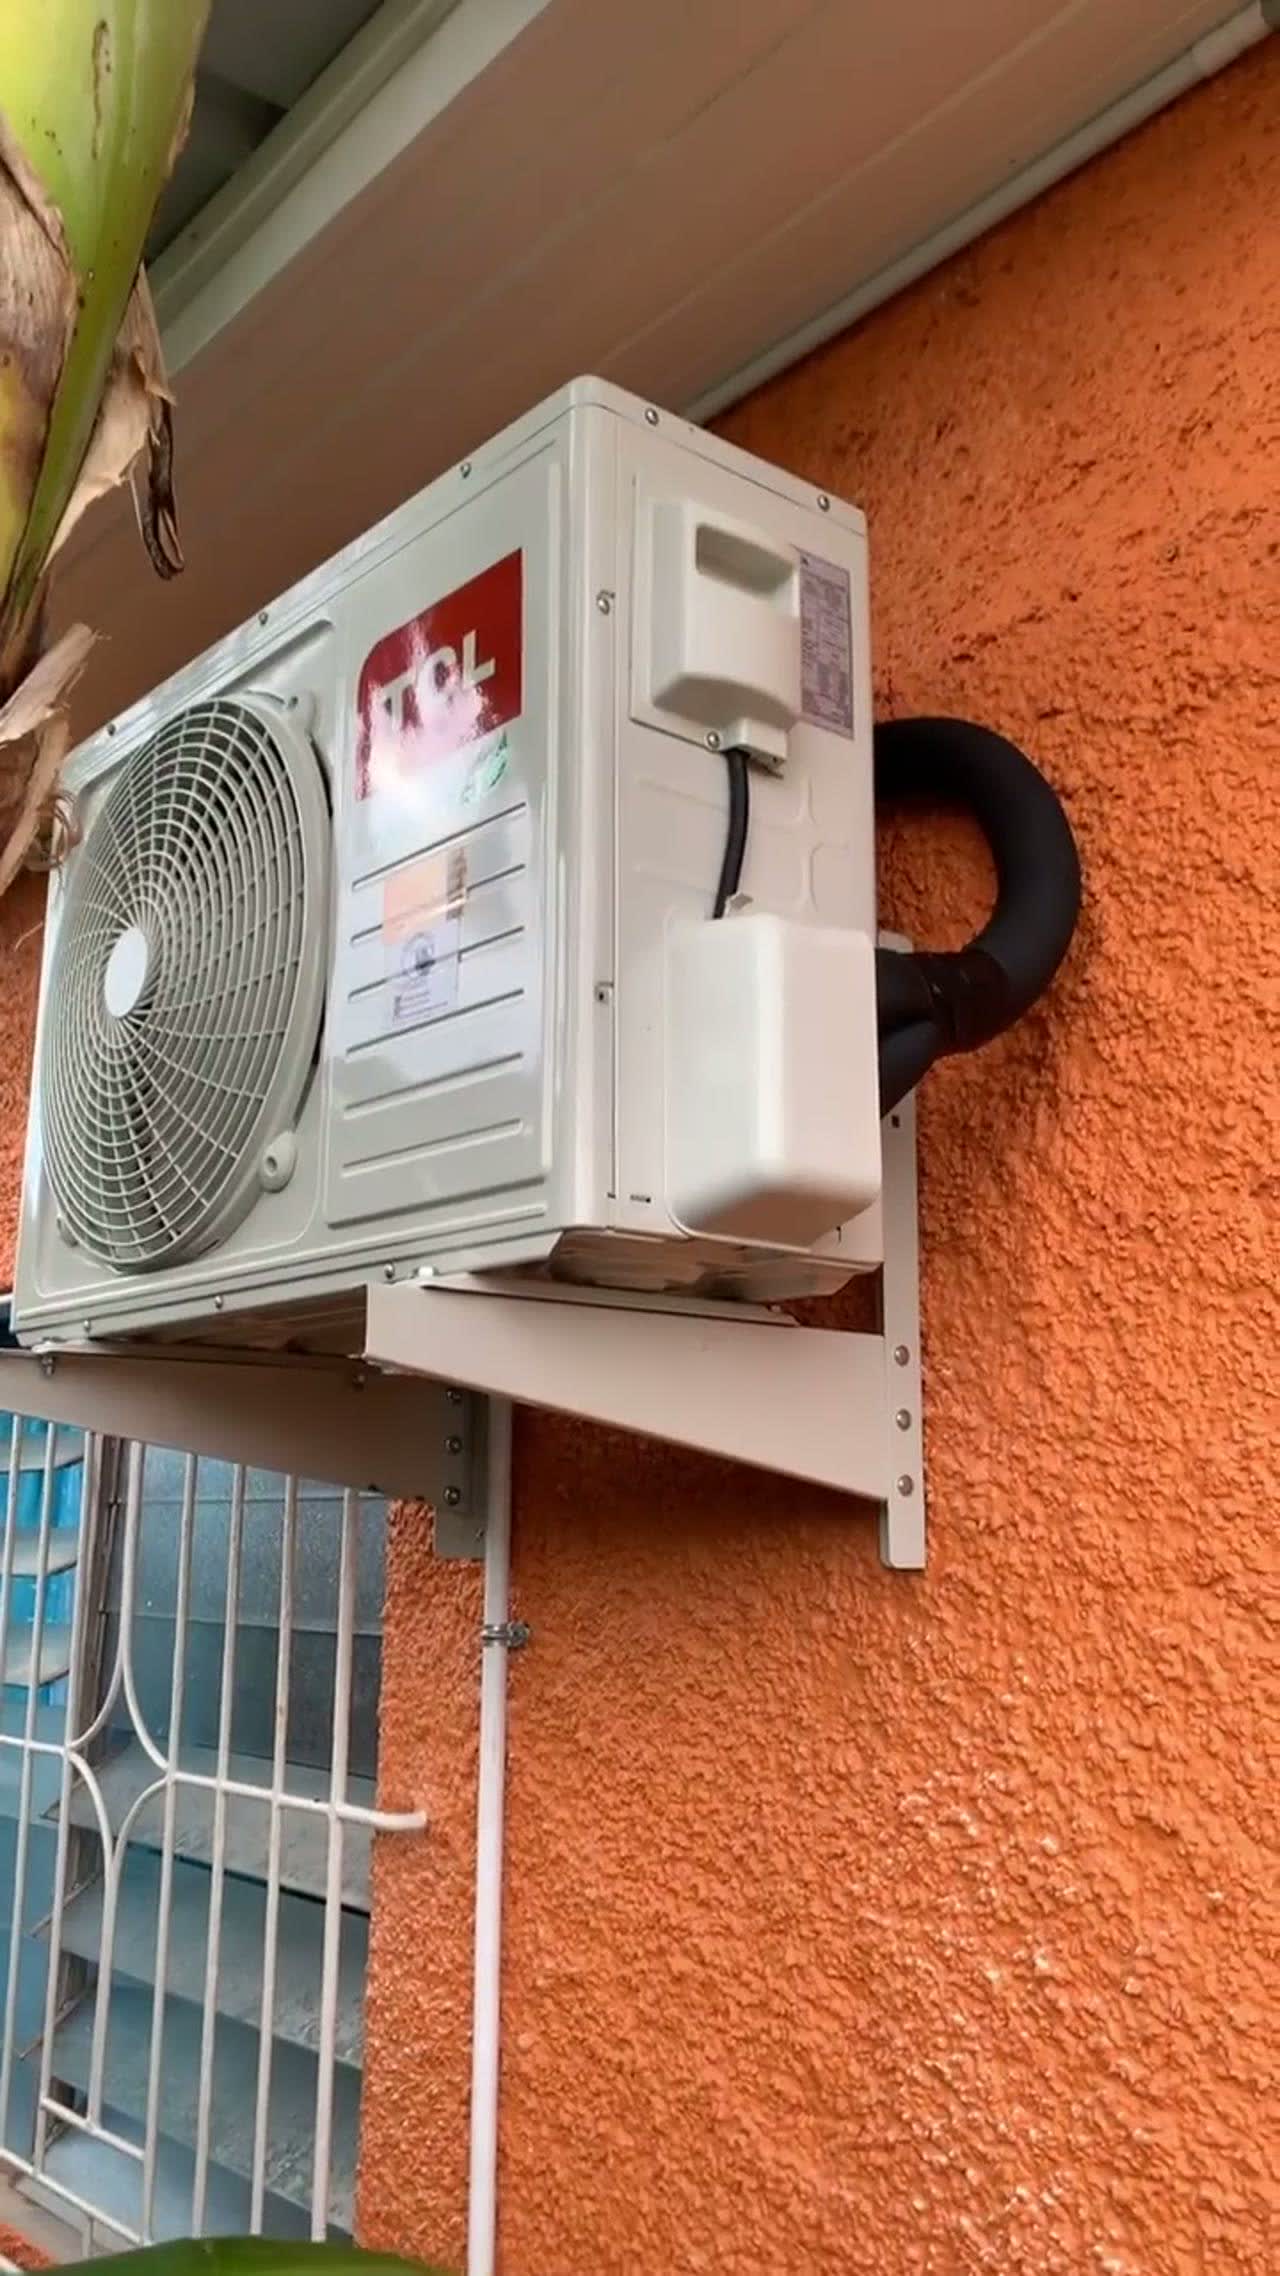
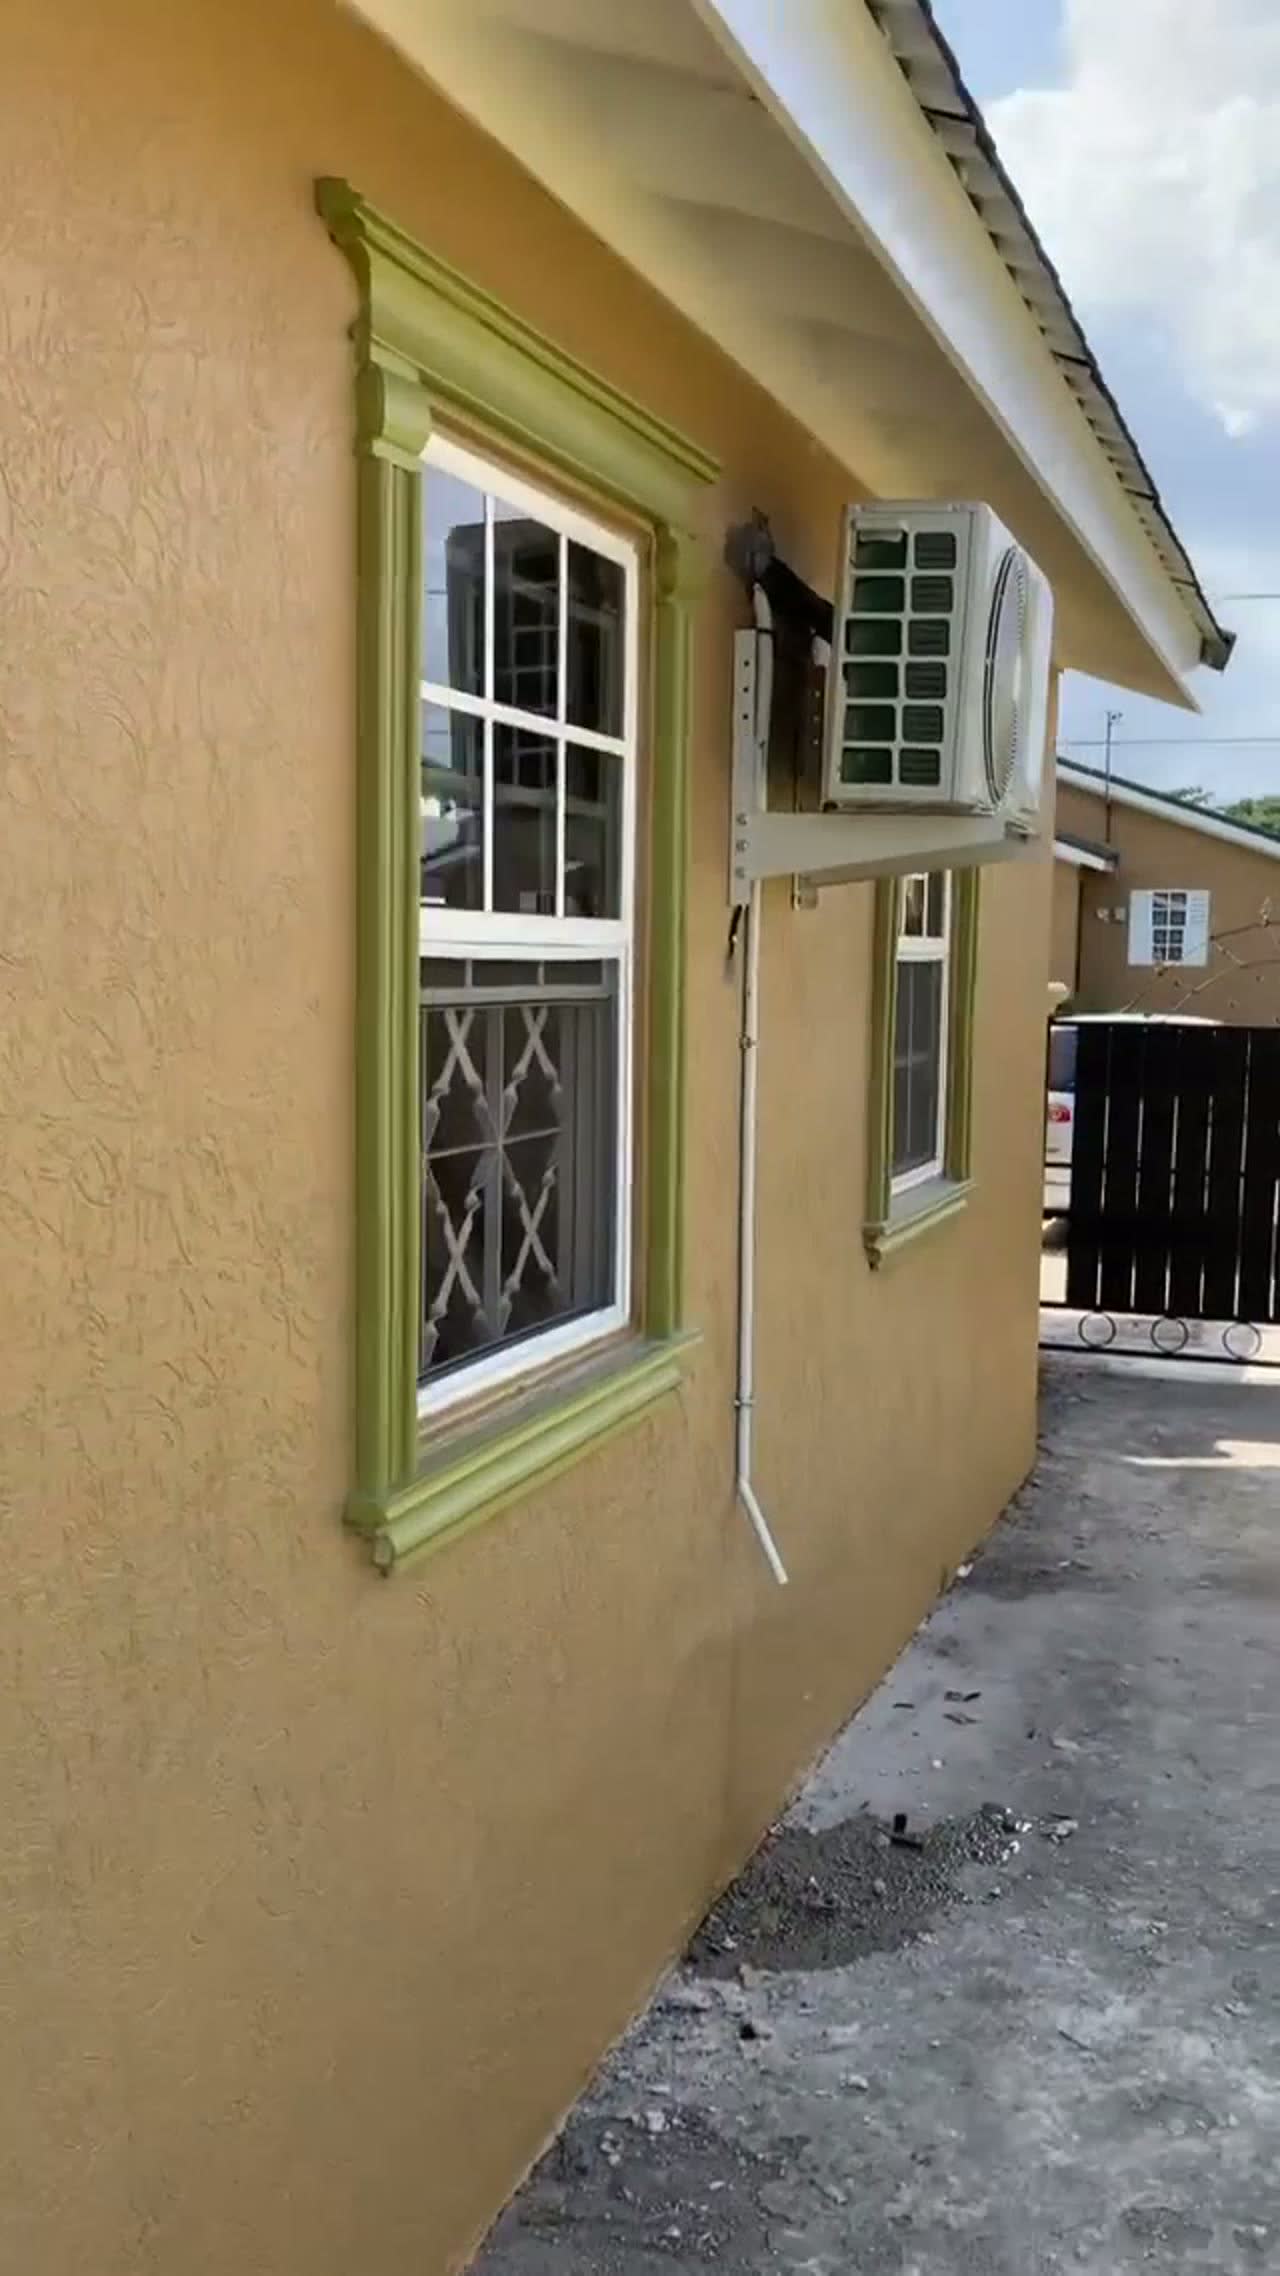
Our posts show complete supply-and-install jobs: indoor high on an exterior wall, outdoor unit on a bracket or flat pad, insulated copper lines, condensate drain routed away from the wall, and electrical disconnect where required. You will also see multi-room projects where each zone gets its own indoor head tied to one outdoor condenser.
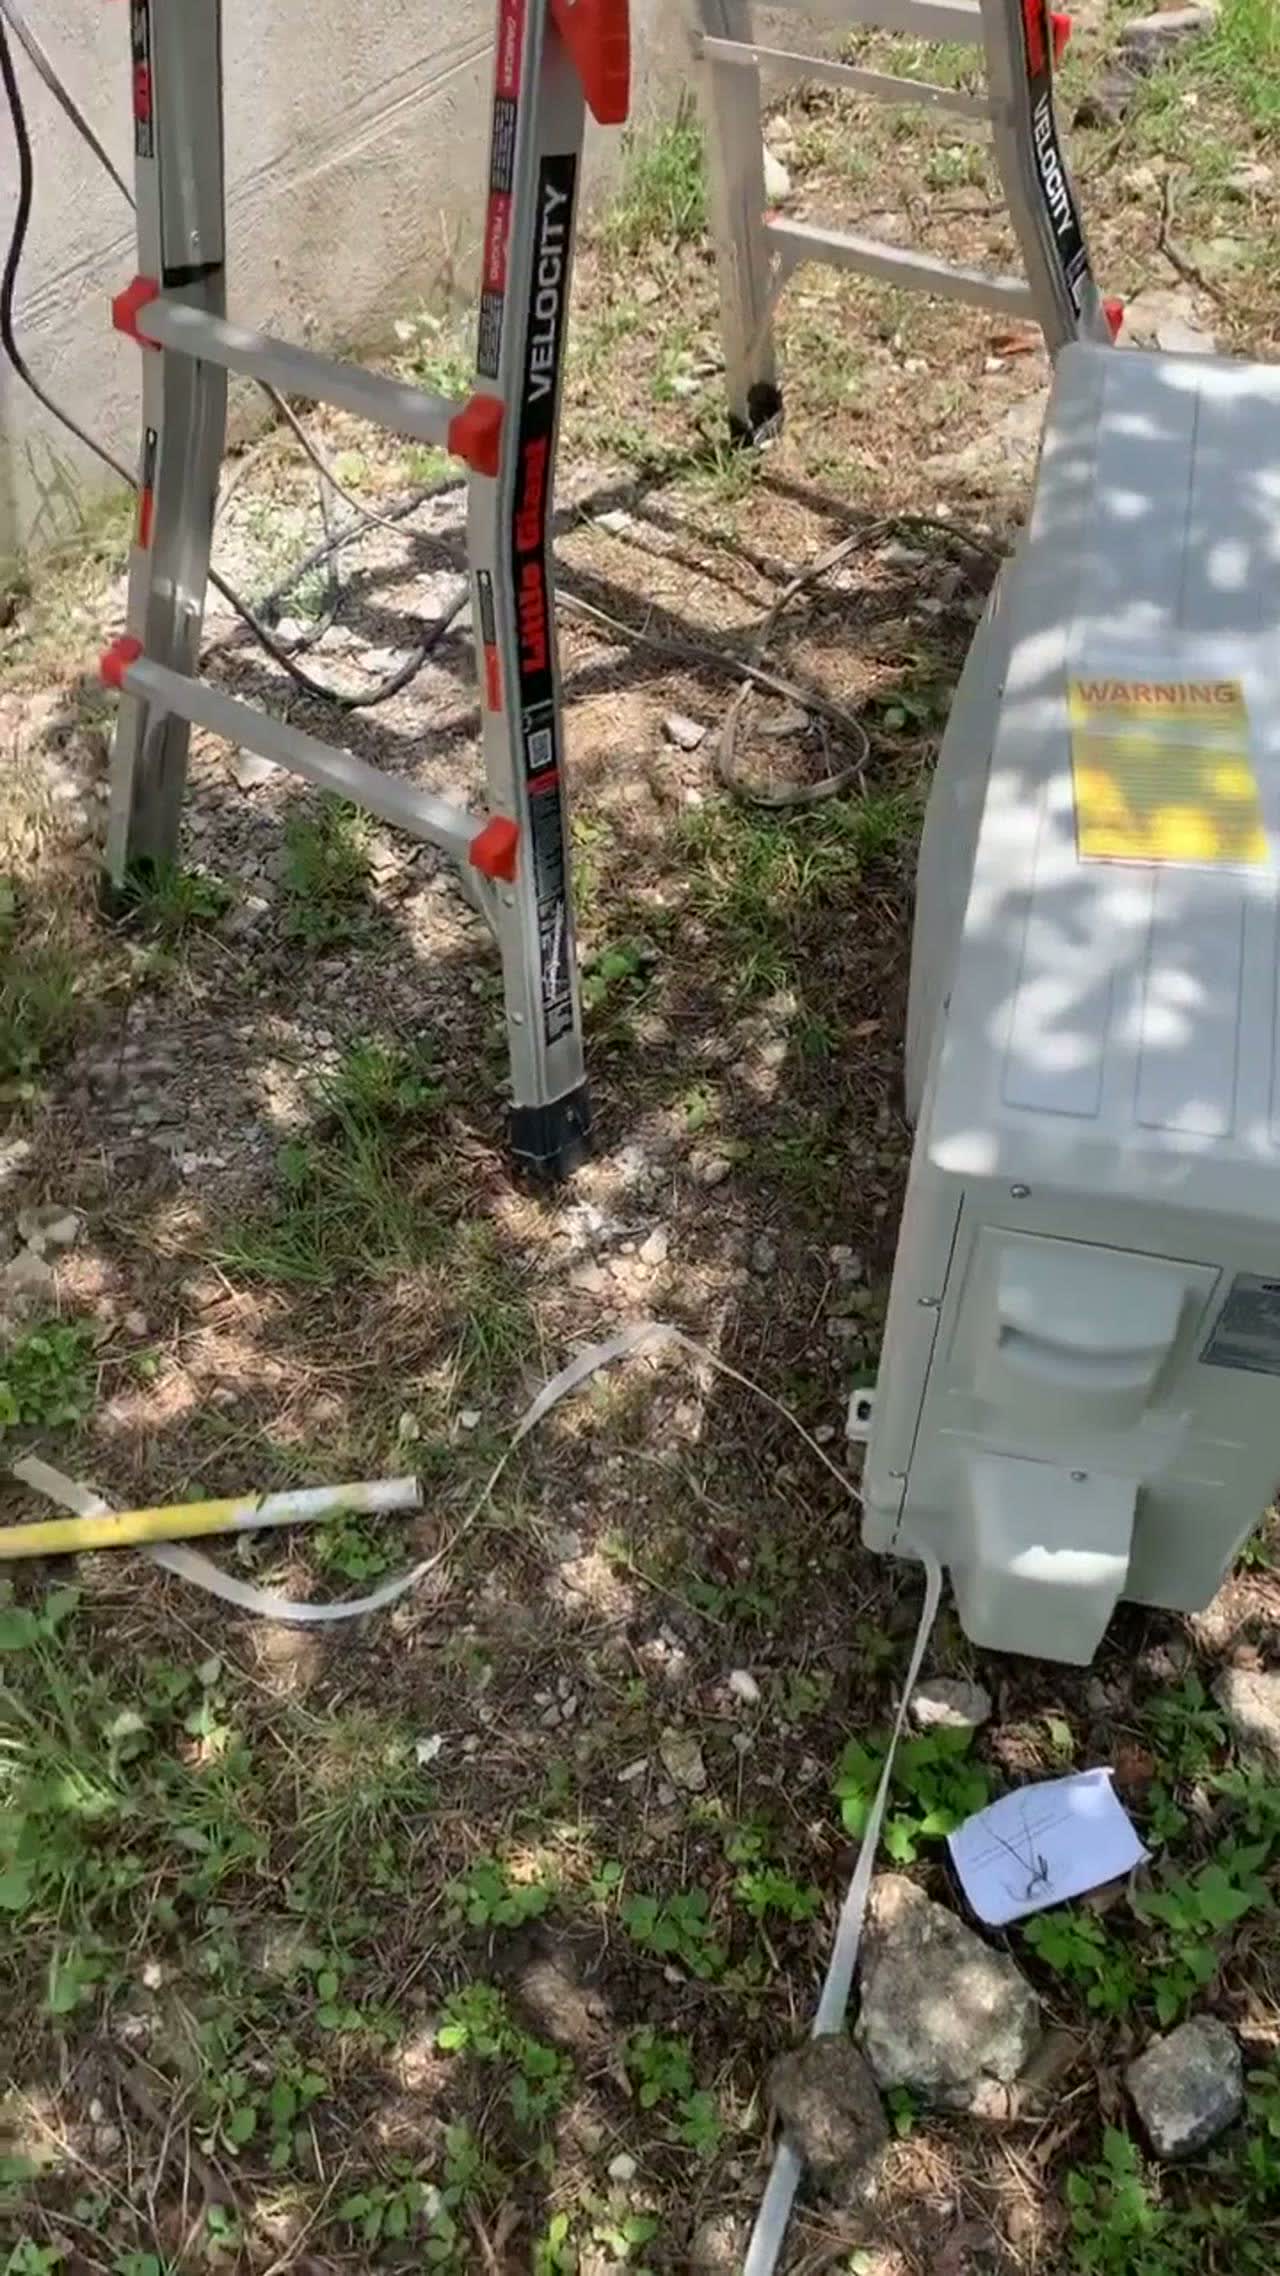
Before work starts, walk the route with the technician. Confirm where the outdoor unit will sit (airflow matters), where the drain will exit, and whether the wall can carry the indoor bracket load. On older concrete or board walls, bracket anchoring is not a detail you want rushed.
Indoor placement tips
- Avoid direct sun on the indoor sensor if possible.
- Keep furniture from blocking return air below the unit.
- Plan cable and drain path before paint touch-ups.
- Do not mount the head directly over a bed if a drain fault would soak the mattress.
Remove-and-reinstall jobs (painting, tiling, moving a unit to a new wall) need the same care as a first install. Old flare joints and tired insulation should not be reused just because they are already there. Tell us if this is a relocation so we quote the right work.
Sizing and room layout
Oversized AC cools fast but may short-cycle; undersized AC runs continuously on hot afternoons. Share honest room dimensions, ceiling height, how many people use the space, and whether the room gets afternoon sun. Kitchens, top-floor bedrooms, and home offices with computers add load.
Open-plan areas sometimes need two smaller zones instead of one large head. If you are unsure, send a floor photo and which walls face west. The crew can recommend a split layout before quote day.
Single-split (one indoor, one outdoor) is the common bedroom job. Multi-split is for several rooms that should cool independently. Do not assume multi-split is always cheaper to run. It is a layout choice. We will say which fits when we see the walls.
Electrical and access
A new circuit, a dedicated breaker, and a disconnect at the outdoor unit are not extras we invent to pad a quote. They are how the unit starts without taking down the kitchen lights. If the existing supply is already tight, say so. We would rather flag it before drill day.
Access is the other half. Locked roofs, dogs, and a condenser over a neighbour’s zinc are the delays that stretch an afternoon. Photos of the outdoor landing and the indoor wall save a wasted first trip.
Install day checklist
- Clear access inside and outside for ladder and piping.
- Confirm electrical supply and breaker size with the installer.
- Agree drain termination so water does not stain the wall.
- Watch the vacuum and pressure test if you are on site.
- Get a quick demo of remote modes, timer, and filter removal.
- Keep children and pets away from open line sets and the ladder.
Commissioning is more than switching on cool mode. The team should verify airflow, check for leaks, and listen for vibration on both indoor and outdoor units. Note anything unusual before they pack up.
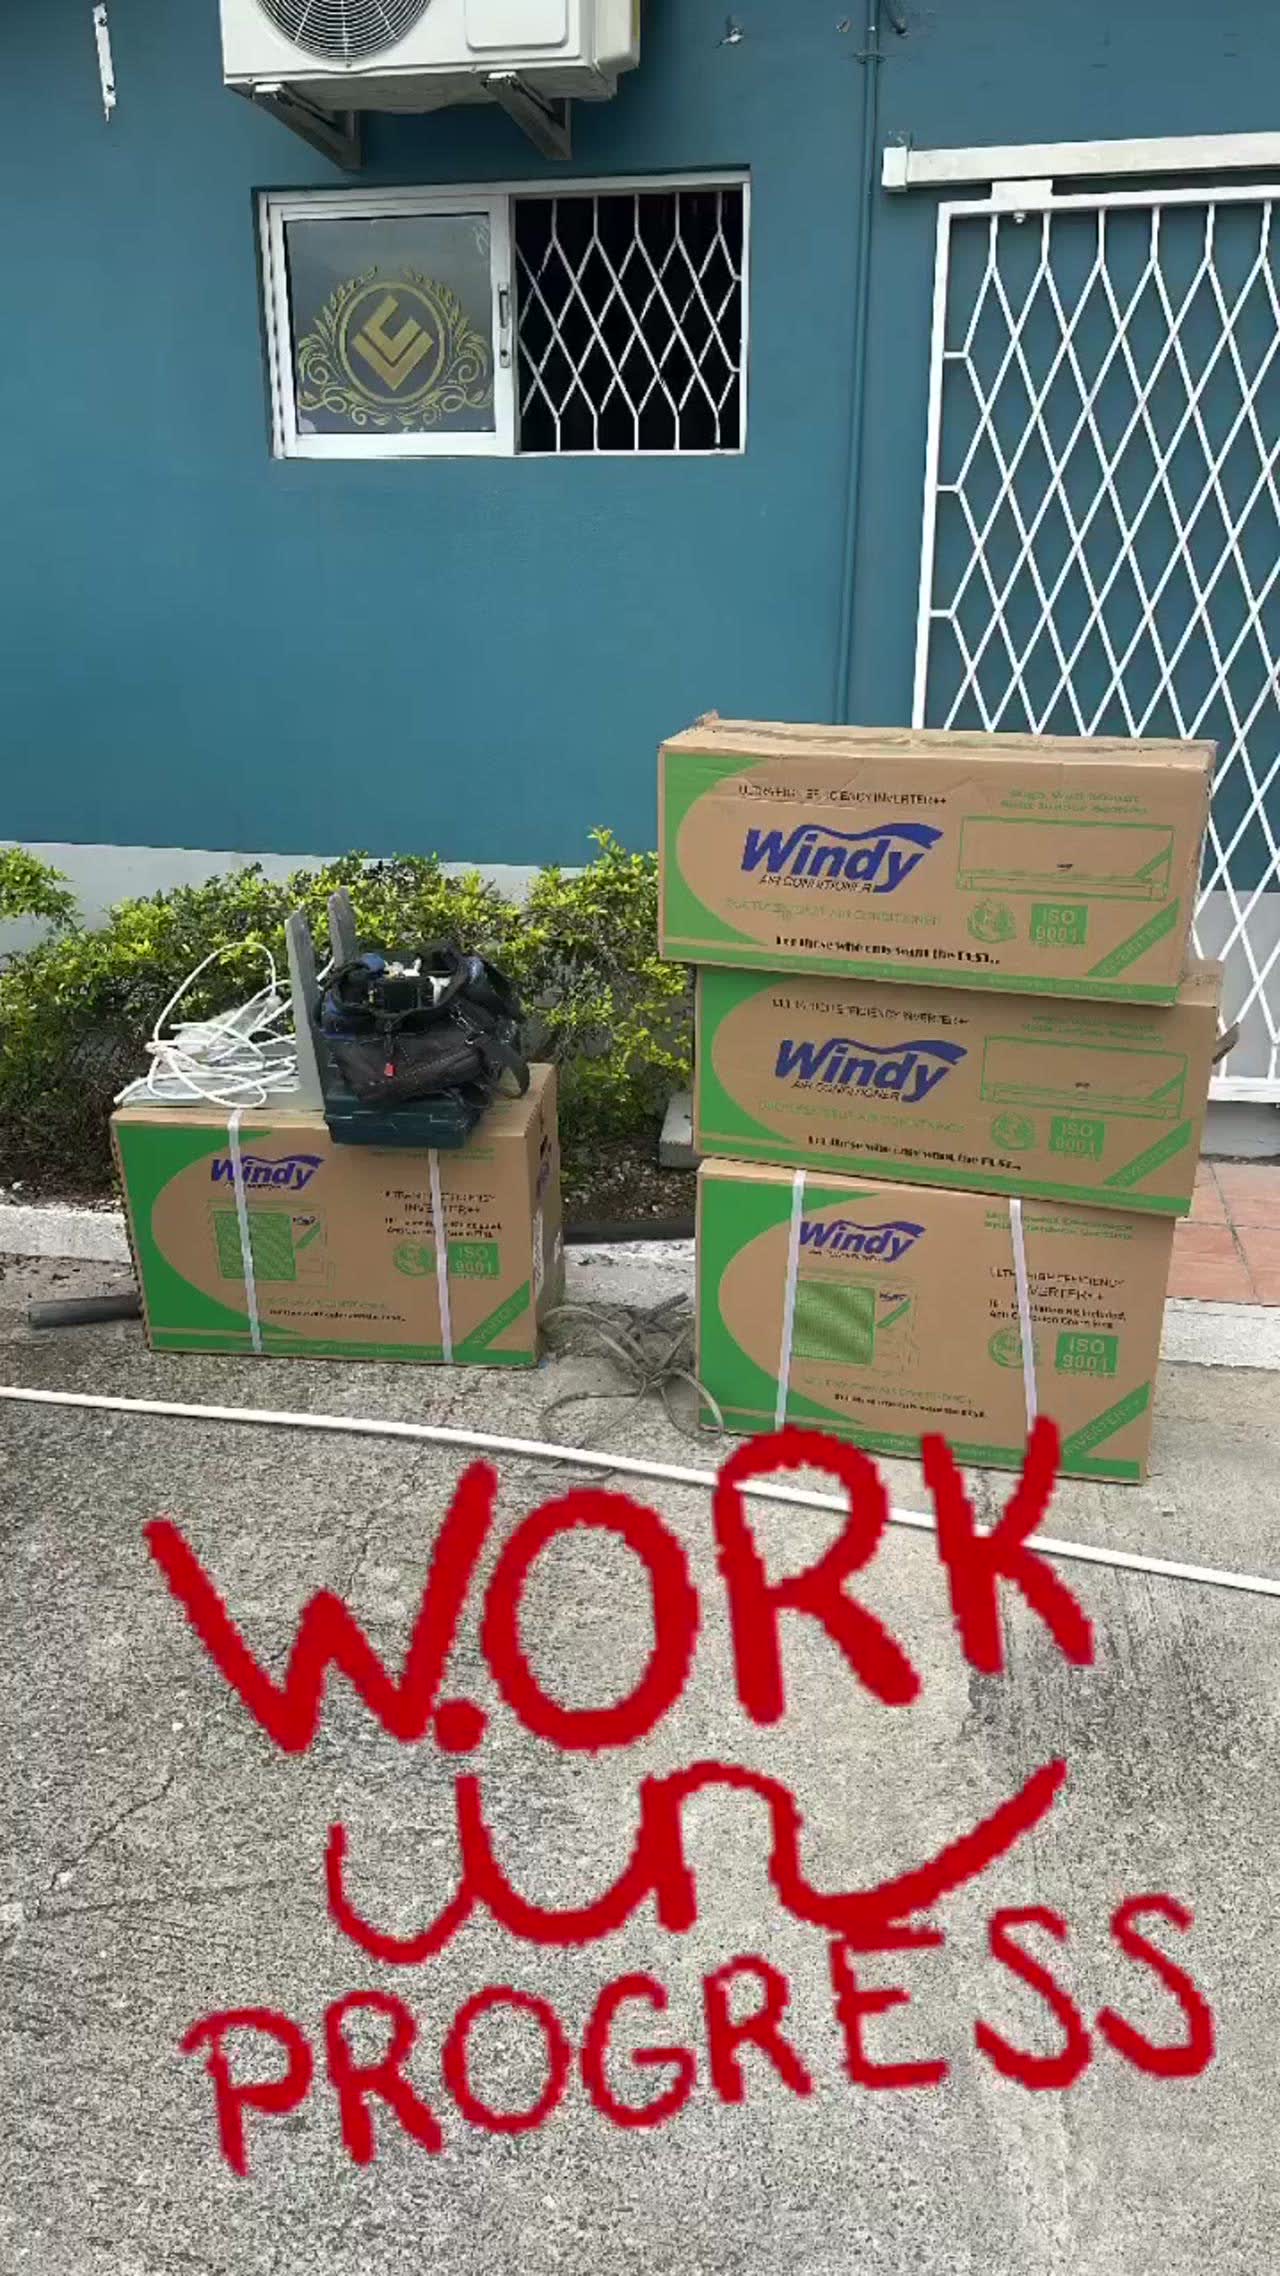
The first week after install
New units can smell faintly of plastic or coil coating for a short time. That should fade. Water on the wall should not appear. A rattle that was not there at handover should be messaged, not lived with.
Learn filter removal the day we show you, not three months later. Put the remote somewhere consistent. If an error light appears, photograph it and send it. Do not keep resetting until the code is gone and the history is gone with it.
Keep the manual. Warranty paths start with model numbers and a clean install, not a screenshot of an Instagram reel.
Bills and daily habits
Inverter units help most when you use them sensibly. Set a realistic temperature, close doors to the zone you are cooling, and use curtains on west-facing windows. Running a 12k BTU head in a room with doors open to the whole house will still cost.
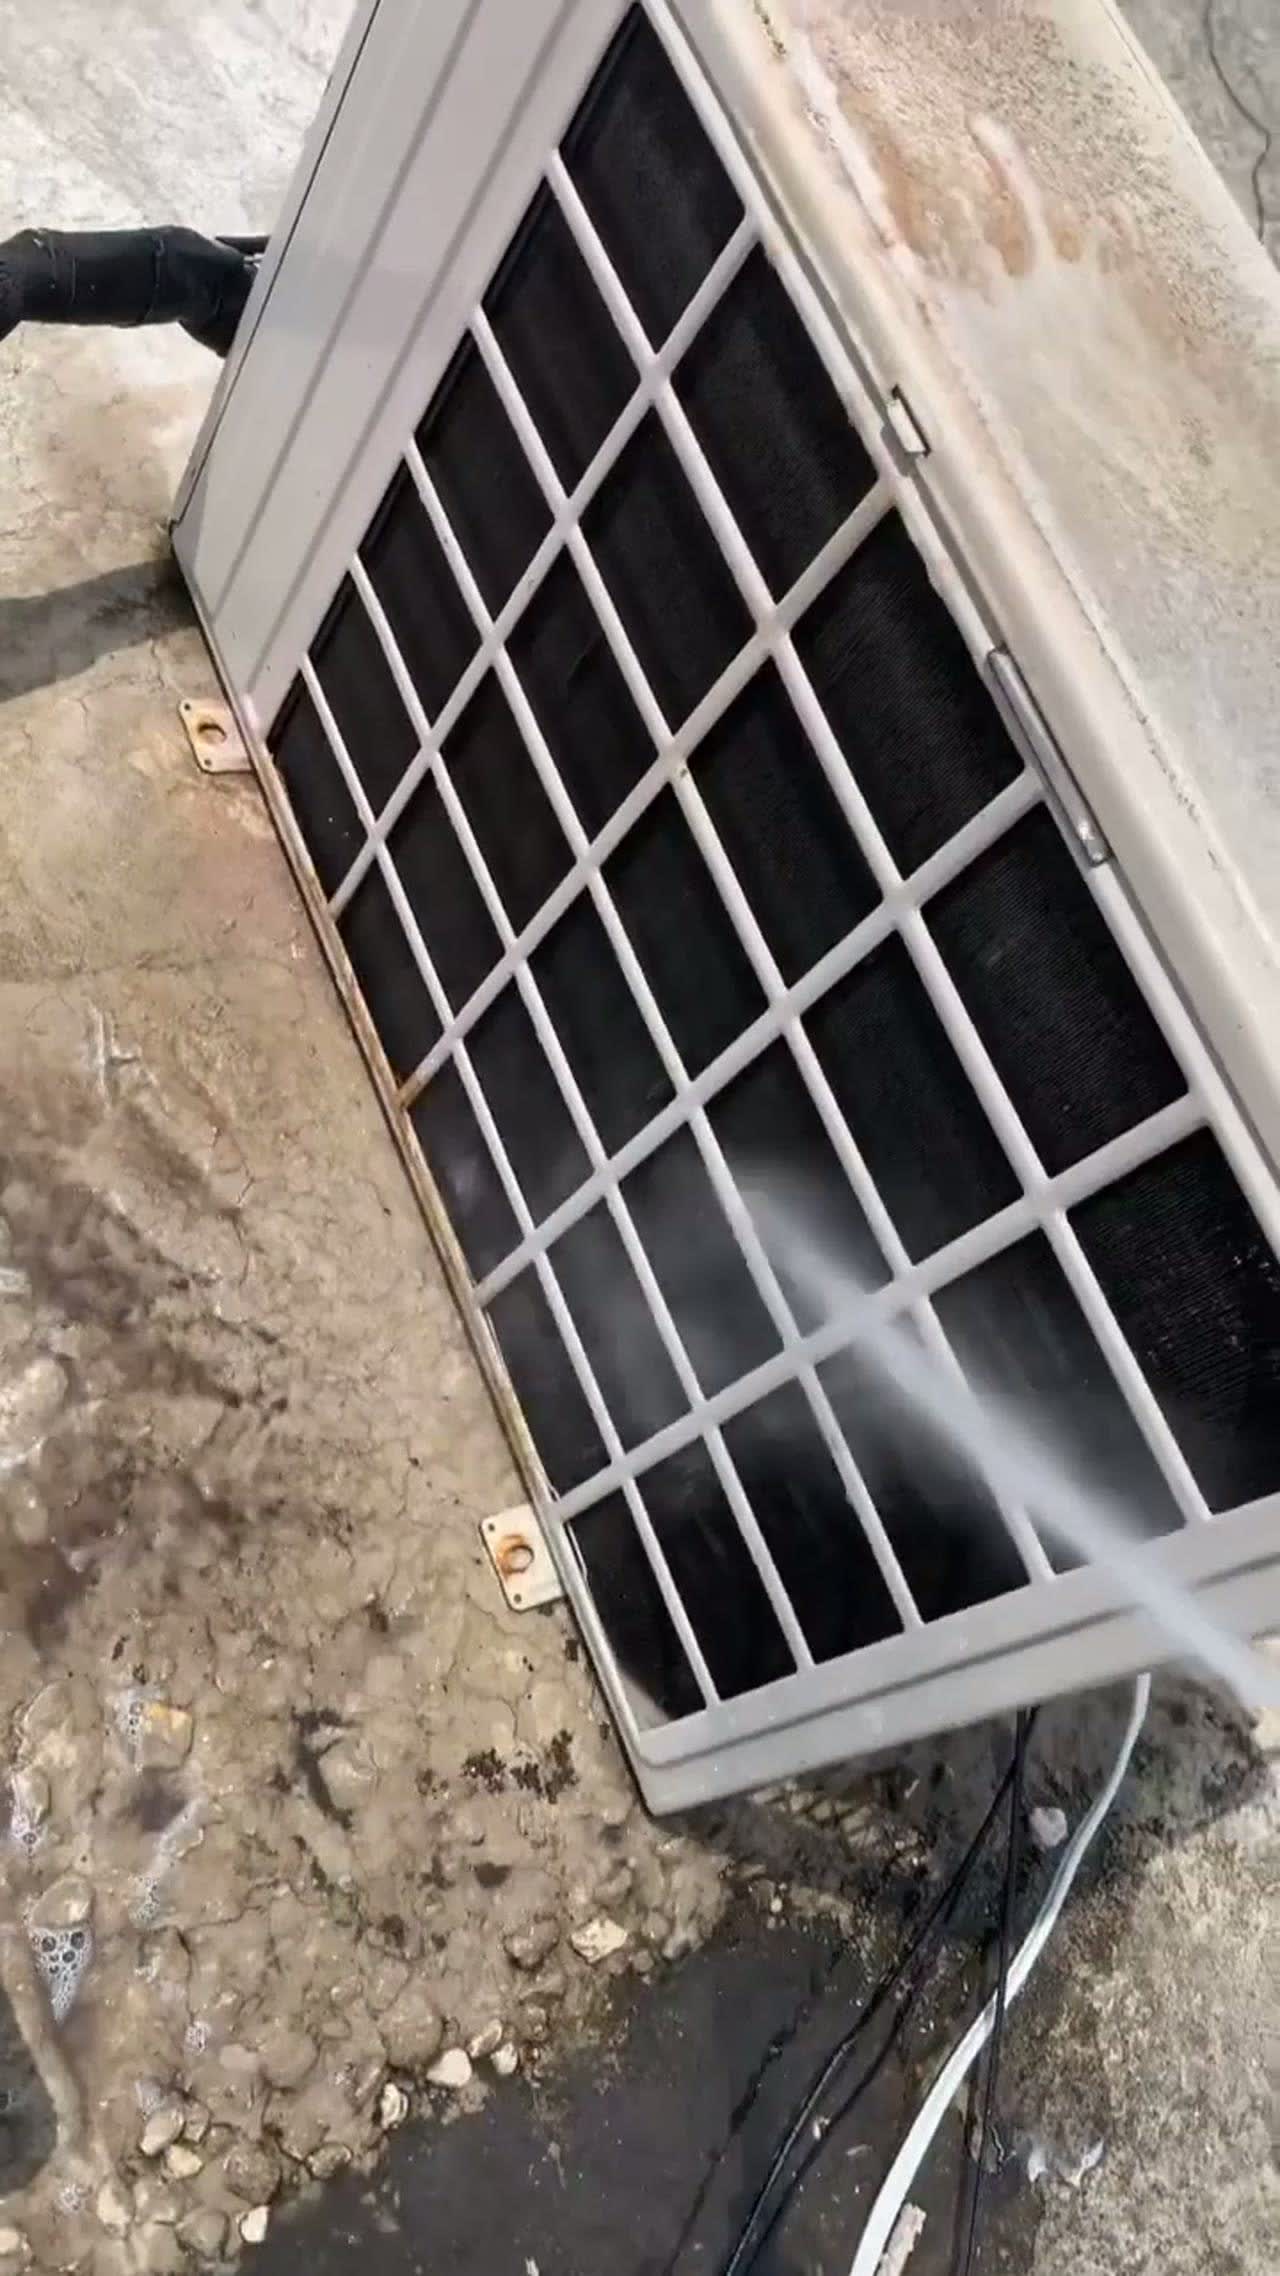
Servicing keeps coils efficient so the inverter is not fighting dirt. That is the other half of the Windy conversation, not a separate hobby.
Servicing after install
Plan at least one professional service per year, more if you are near the coast or a dusty road. Filters are homeowner monthly work; coil washing and refrigerant checks belong to the technician. See the servicing schedule guide for seasonal notes.
If you also asked about TCL, the install quality markers are the same even when the badge is different. The TCL job notes cover line hide and commissioning in more detail.
Common questions
Do you install Windy island-wide?
Yes. We cover island-wide installation. Share your parish when you message so we can plan travel.
Can I buy my own Windy unit and hire you to install?
Message us with model numbers and warranty status. Our posts focus on supply-and-install, but we can confirm if your scenario fits.
How do I book?
Call or WhatsApp 876-472-9471 or use the Get a Quote form.
Can you move an existing Windy unit to a new wall?
Often yes. Send photos of the current indoor and outdoor mounts plus the new wall. Relocation is quoted as its own job.
How loud should a new Windy unit be?
A low fan hum is normal. Rattle, knock, or a fan hitting the cage is not. Message us in the first week if something sounds off.
Ready for a Windy install quote?
Send room photos, parish, and whether you need supply and install or mount only.
Get a Quote